
Recent post
Steps to Making Soap at Home
27 Mar 2016
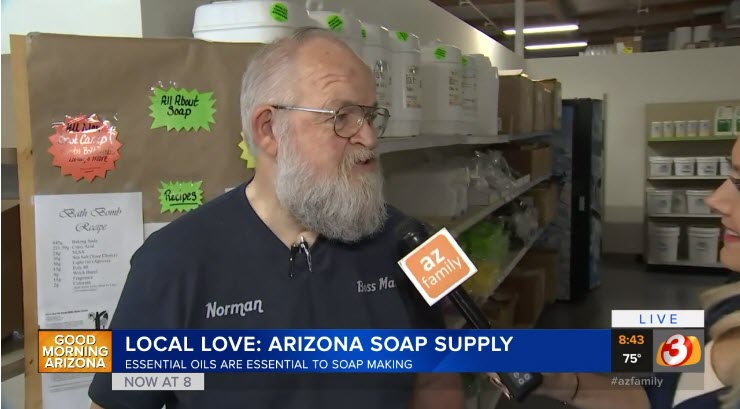
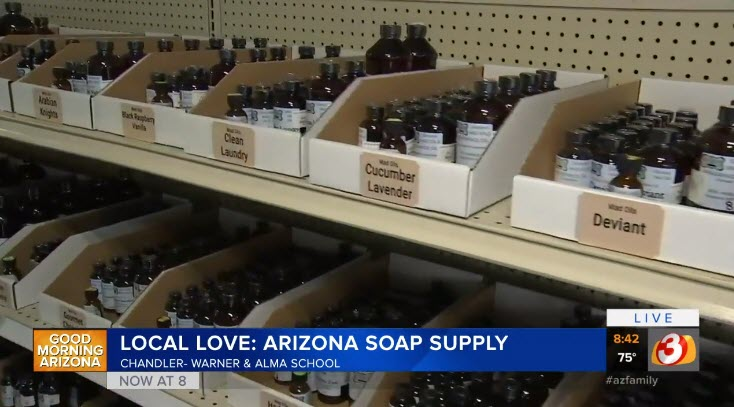
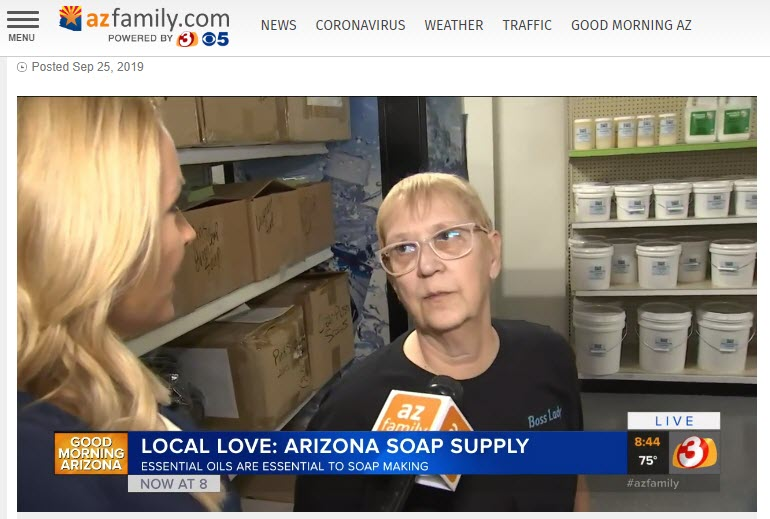
Arizona Soap Supply for ALL...
03 Jun 2015

Steps to Making Soap at Home
March 27, 2016 12.45pm
Those of you looking for a fun project may wish to try making soap at home. While the basic process of soap making is not complicated, it is important to follow the recipe for each different type of soap to a tee. This includes weighing all of your soap making ingredients carefully, ensuring each ingredient is at the proper temperature and stirring continuously until the perfect consistency is reached.
1. Decide What Type of Soap You’d Like to Create
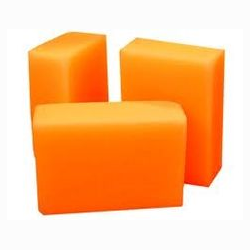
Before you begin mixing, you need to decide what type of soap you wish to make. The simplest soap recipes involve just lye (sodium or potassium hydroxide) and one or more types of fats or oils, but you can also add essential oils, colors, and moisturizers. For the first-time soap maker, sticking to a simple solid soap recipe improves the odds of finishing with a successful batch. Arizona Soap Supply sells a pre-measured kit with 3 oils, lye water mixed, and shea butter.
For bar soap, start with sodium hydroxide and one or more soap making oils that are solid at room temperature, such as coconut oil, lard or palm oil. Check online for a soap recipe that fits your needs and then use a soap calculator to determine the exact amounts of lye and water needed.
2. Use Care When Mixing Lye and Preparing Oils
When making soap at home, the most dangerous aspect is mixing your lye with water; use goggles and gloves! Start with water that is ice-cold, slowly adding lye while gently stirring. Allow the lye water to sit until it has cooled to the proper temperature. Meanwhile, mix the oils together and bring them to the appropriate temperature.
Once you have your lye and oil mixtures ready, slowly pour the lye mixture into the oils, mixing continuously. A stick blender is the best tool for this job, greatly shortening the amount of time you need to hand stir. Blend until the mix leaves lines behind where you’ve stirred (known as “tracing”). By hand, this can take as long as an hour.
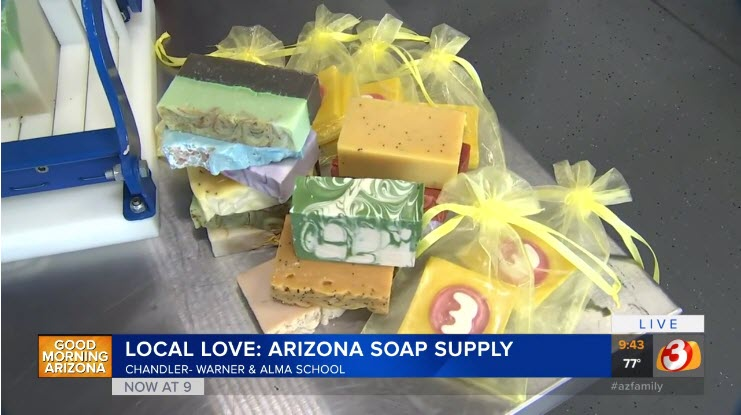
3. Pour, Cure and Enjoy!
Pour your mix into molds of your choice and allow it to harden. The next day, gently knock the bars out of their molds and allow your soap to cure for at least three weeks before using. Once you’ve created your first batch of simple soap, the sky is the limit, as there are a virtually unlimited number of recipes you can try.
This blog brought to you by Da Norms, your favorite Arizona Soap Supply Team! If questions, we are standing by... to talk soap making and soap supply shopping! :)
Happy Soaping!